Embroidery digitizing is the process of converting artwork into a digital file that an embroidery machine can read. While it may seem easy, there are common mistakes that can affect the final result. Avoiding these mistakes is important to ensure the design looks good and works properly on the fabric.
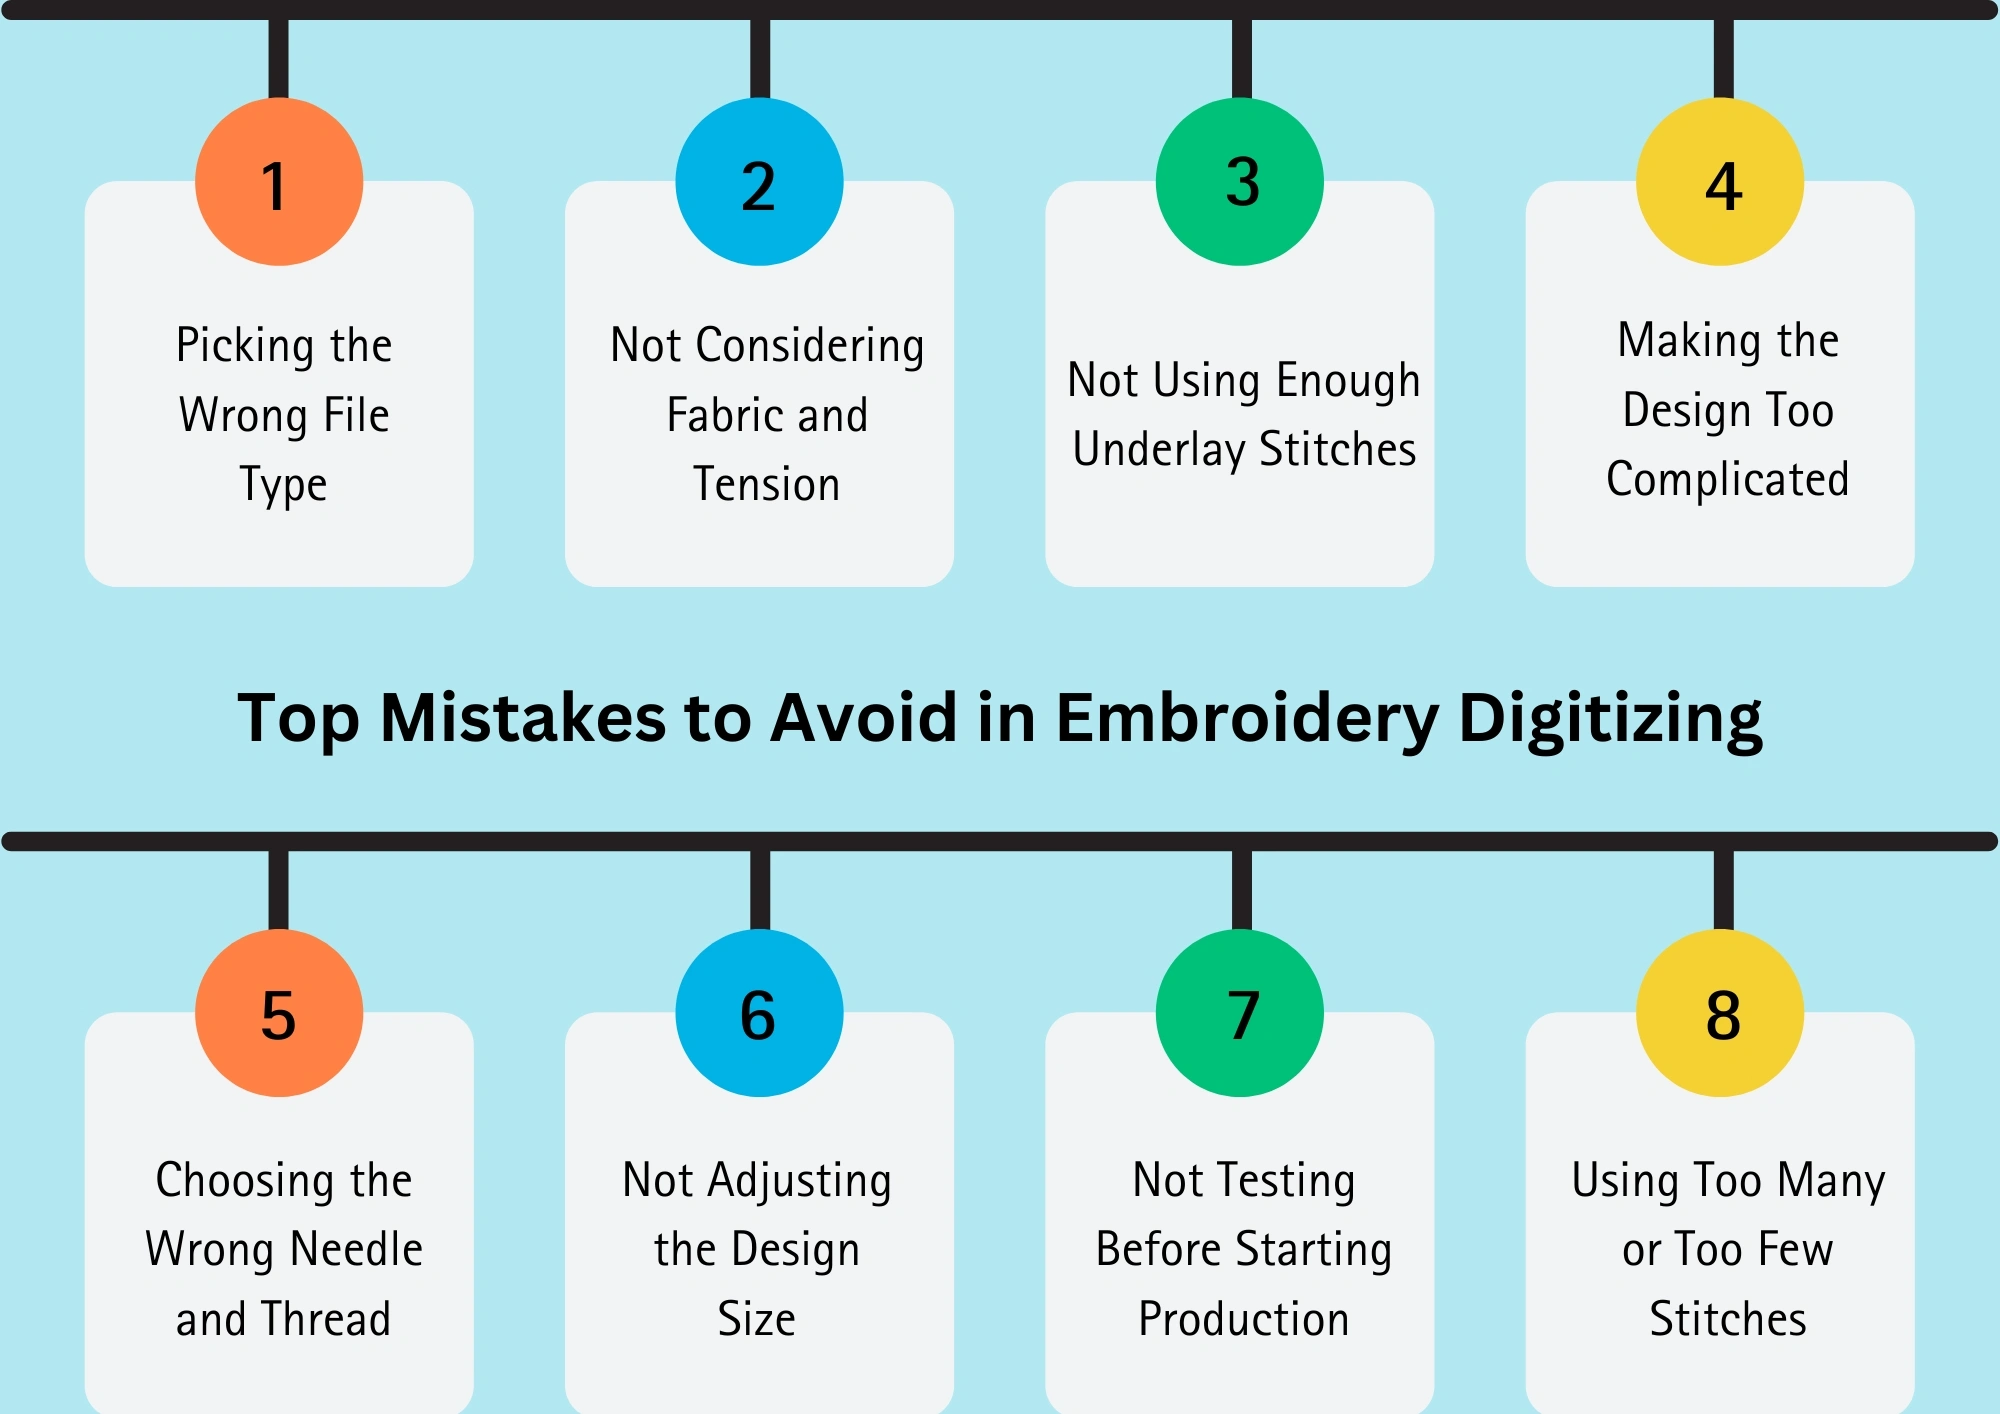
In this guide, we’ll look at some of the top mistakes to avoid when digitizing embroidery, helping you create better, more professional results.
Picking the Wrong File Type
Choosing the wrong file type for your embroidery design can cause problems when trying to load the design into your embroidery machine. Different embroidery machines use specific file formats, and using the wrong one can lead to errors or poor-quality stitching. It’s important to know which file format your machine supports before you start digitizing.
Common file types include .DST, .EXP, and .PES. Always double-check your machine’s requirements to ensure you’re using the right file type. This will help you avoid wasting time and materials while ensuring your design stitches out perfectly.
Not Considering Fabric and Tension
When digitizing an embroidery design, it’s important to think about the fabric you’re working with and the machine tension. Different fabrics require different settings. For example, thicker fabrics need different stitch settings compared to lightweight ones. If you don’t adjust the tension properly, the stitches might be too tight or too loose, which can cause uneven stitching or puckering on the fabric.
Always consider the fabric type and make sure the machine’s tension is set correctly for the best results. This simple step can make a huge difference in the quality of your embroidery.
Ready to take your embroidery designs to the next level? Start avoiding these common mistakes and create flawless, professional-quality embroidery every time! Contact us or log in to place your order now!
Not Using Enough Underlay Stitches
Underlay stitches are the foundation for your embroidery design. They help keep the fabric stable and provide a solid base for the top stitches. If you don’t use enough underlay stitches, the design may shift or look uneven, especially on stretchy or delicate fabrics. Underlays also prevent puckering and help the design hold its shape over time.
Always make sure you include enough underlay stitches to support your design properly, ensuring a clean and professional finish.
Making the Design Too Complicated
When creating an embroidery design, it’s tempting to add a lot of details, but making the design too complicated can cause issues. Too many small elements or intricate stitches can make the design harder to stitch and may result in poor quality or long production times. It can also lead to thread breaks or fabric damage.
Simpler designs are often more effective and look cleaner. Try to focus on key details and keep the design balanced to ensure it stitches out smoothly and looks great.
Choosing the Wrong Needle and Thread
Using the wrong needle and thread can negatively affect the quality of your embroidery. Different fabrics and designs require specific types of needles and threads to work properly. For example, thicker fabrics might need a stronger needle, while finer threads are better for detailed designs.
If you choose the wrong combination, you might face issues like thread breakage, uneven stitching, or poor design appearance. Always match the needle and thread type to your fabric and design to achieve the best results.
Not Adjusting the Design Size
It’s important to adjust your embroidery design size to fit the item you’re stitching on. If the design is too big or too small for the fabric or product, it can look awkward or not stitch properly. A design that’s too large might cause puckering or overlapping stitches, while one that’s too small might lose details.
Always check the design size before starting and adjust it to fit your embroidery area and the fabric you’re using. This ensures the design looks balanced and stitches out clearly.
Not Testing Before Starting Production
Skipping the test stitch-out is a common mistake in embroidery digitizing. Testing the design on a scrap piece of fabric before starting the full production helps you spot any issues, like incorrect stitch placement, thread tension, or fabric puckering. Without testing, you risk wasting time, materials, and effort. Always do a test run to ensure everything looks good and works properly before committing to the final product.
Using Too Many or Too Few Stitches
The number of stitches in a design affects its overall appearance and quality. If there are too many stitches, the fabric might become stiff, or the design could appear bulky. On the other hand, using too few stitches can make the design look thin, and some details might not show up well.
It’s important to find the right balance by adjusting stitch density. This ensures your design is clean, durable, and properly balanced, giving the best result for the fabric you’re using.
Also Read: Types of Embroidery Digitizing Services.
Also Read: Professional Embroidery Digitizing Services in the USA.
FAQs
What is embroidery digitizing?
Embroidery digitizing is the process of converting a design into a digital format that an embroidery machine can understand and stitch out.
Why is testing important before production?
Testing ensures the design works as expected on the fabric, helping avoid costly mistakes, wasted materials, and time.
What happens if I pick the wrong file type?
Using the wrong file type can result in errors, poor-quality stitching, and wasted materials, as the embroidery machine may not read the file properly.
How do I know if my design size is correct?
Make sure the design fits within the embroidery area of your fabric and adjust the size if needed to prevent puckering or distortion.
What are underlay stitches and why are they important?
Underlay stitches provide a stable base for the design, helping prevent shifting, puckering, and ensuring a clean, professional finish.